A sloping backyard can present quite a challenge when installing outdoor structures, and putting up a playset is no exception. So, is it possible to install a playset on a slope?
Well, in some instances, yes. You can consider installing a playset on a slope without ground leveling, but this typically applies to custom-designed playsets or specific models designed for such terrain. Otherwise, you’ll likely have to level the ground beneath the playset for proper installation.
Most yards are graded to slope away from the house to facilitate drainage. While this benefits overall yard health, it can complicate playset installation. If your yard has a significant slope, the challenge of installing a playset becomes even more pronounced. Keep reading to explore the options for successfully establishing a playset in your sloping yard.
Importance of Ensuring a Level Playset Installation
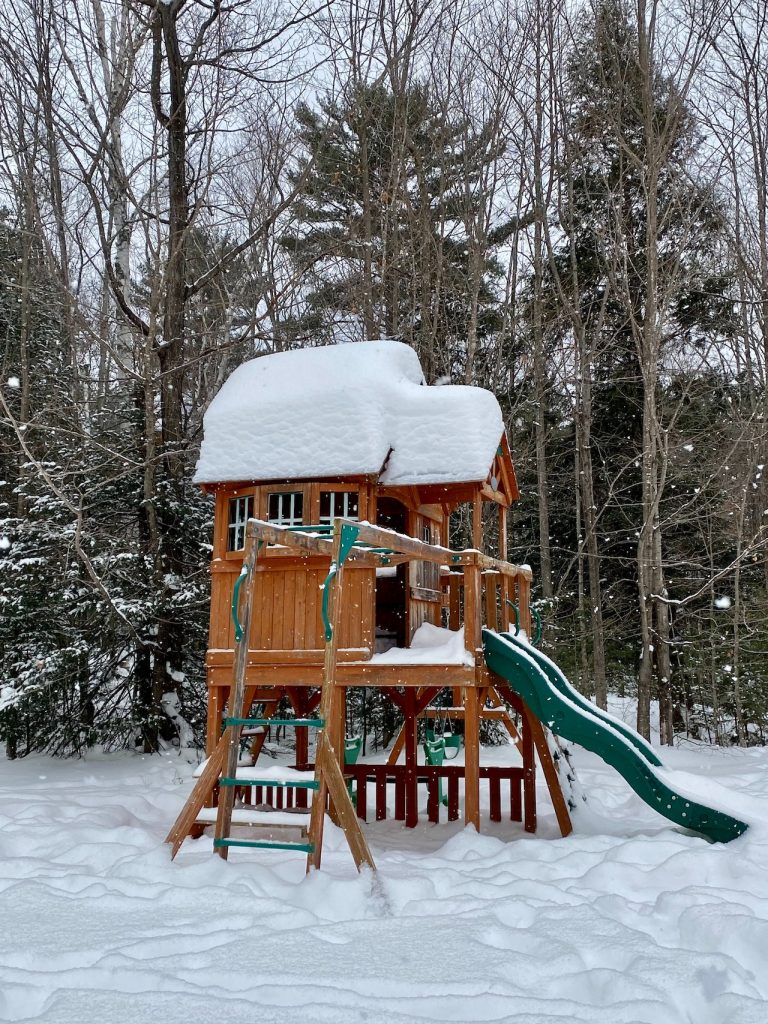
Ensuring the level of a playset is paramount, primarily for safety reasons. Naturally, you want any equipment your children use to be constructed in the safest manner possible. An unlevel playset poses risks to individuals and property and presents a liability concern.
An unlevel playset is inherently unstable and susceptible to tipping over, which is especially precarious as most playsets have a top-heavy design. This instability can lead to the playset toppling over due to vigorous play, strong winds, or severe weather. Such an event could result in injuries to those nearby, damage to your property, and irreparable harm to the playset itself.
This jeopardizes your family’s safety and holds you legally responsible if it causes harm to another child or property on your neighbor’s premises.
Furthermore, an unlevel playset exerts excessive stress on the wood and hardware, potentially leading to damage or premature wear. This significantly shortens the playset’s lifespan.
While not as critical as safety concerns, the aesthetic aspect is worth considering. An unlevel playset may not enhance the visual appeal of your backyard.
Lastly, it’s worth noting that installing a playset on uneven ground could void any warranty you have on it. Many manufacturers specify level ground as a prerequisite for warranty coverage, aiming to avoid covering preventable damage.
Playsets Designed for Slopes
If you find the idea of leveling your significantly sloped yard daunting, don’t worry! Several playset manufacturers offer models designed to be adjustable, specifically tailored to accommodate sloped terrain.
If none of these pre-made designs suit your needs or your yard’s unique layout, you can also have a custom playset built. Depending on your requirements, it might not be as costly as expected.
Playsets for Slopes
Playset manufacturers have recognized the demand for playsets that can safely accommodate sloping yards, leading to the development of innovative solutions. While models may be somewhat limited, many designs and accessories are available.
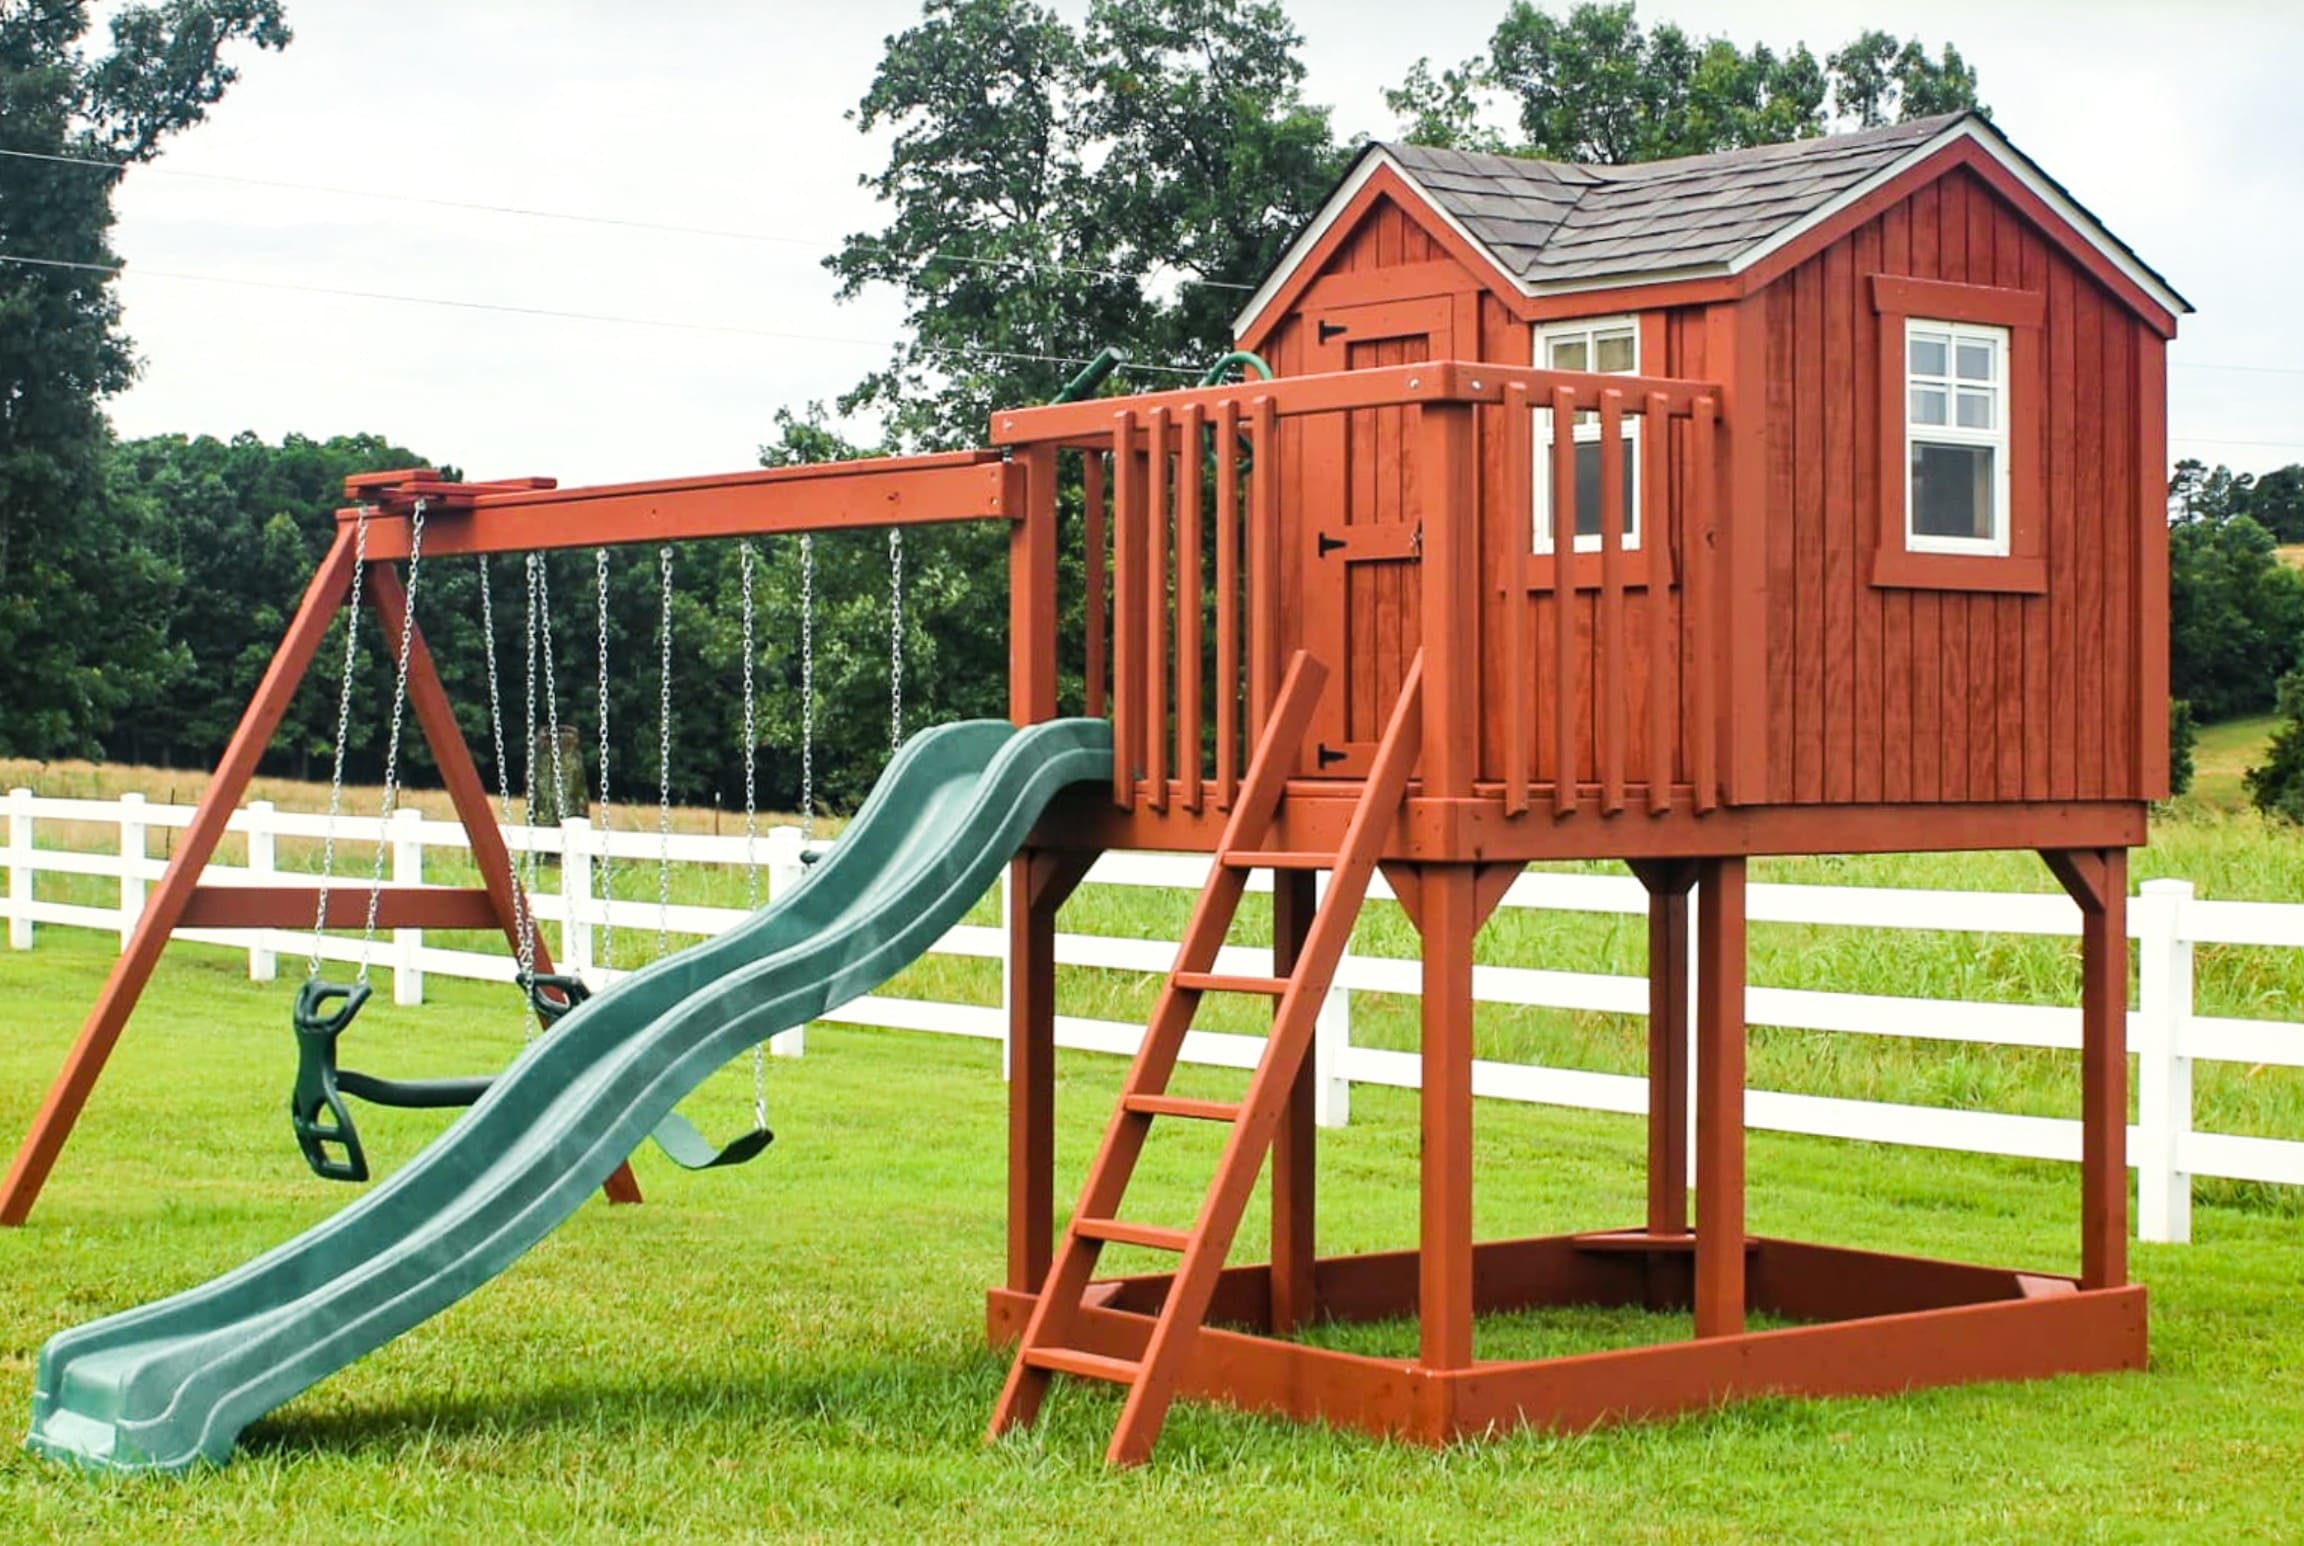
Rainbow Play Systems, for instance, offers playsets engineered explicitly for installation on sloping terrain. These playsets feature an A-frame construction, allowing for the adjustment of supports. The legs can be repositioned closer or further apart to compensate for the yard’s slope. This design provides more play space underneath and occupies more ground area.
Wood Play’s Outback Playsets employ a similar A-frame design, ensuring adjustability to suit sloped landscapes.
Furthermore, playsets without attached swing sets are generally easier to level as they occupy less ground space. Often, only a 4-foot by 4-foot area must be balanced for these types of playsets.
Custom Playsets
For those facing particularly challenging terrain, custom playsets offer an ideal solution. The posts and A-frames can be tailored in length and angle to integrate with your yard’s natural contours seamlessly. Custom playsets can take advantage of steep hills by incorporating climbers or slides, with the clubhouse on higher ground. They can also be designed around existing landscaping, providing a solution that harmoniously blends with your outdoor space.
Jack’s Backyard boasts a picture gallery showcasing an array of custom builds, some ingeniously constructed around trees to evoke a treehouse ambiance. These creations are truly remarkable.
For those inclined towards DIY projects, Paul’s Playhouses offers impressive do-it-yourself playset plans that provide the option for custom DIY plans. Opting for a custom design allows for your yard’s slope accommodation. This is an excellent choice if you’re keen on building the playset but require professional guidance in drafting the plans.
How to Level the Ground
If the A-frame construction or custom design options aren’t appealing, another viable approach is to even out the ground where the playset will be situated. While this process is relatively straightforward, it does require some hard work. Depending on the slope of your yard, heavy equipment, and potentially a retaining wall may be needed.
It’s important to note that the entire play area doesn’t necessarily need to be perfectly level, although doing so can simplify laying down a ground covering. When determining the size that requires leveling, focus on the space directly beneath the playset.
Remember, you’ll want to ensure your children can play safely without any risks of rolling down a hill after swinging. Select a suitable location and level the ground as much as necessary to create a secure play environment.
Here’s a step-by-step guide for leveling the ground in your backyard:
- Select a Suitable Area: Identify a portion of your yard that is flat and provides enough open space for the playset.
- Mark the Area: Outline the chosen area using stakes and string. Ensure the line is pulled taut and level for accuracy.
- Remove Sod: Use a shovel or a sod cutter to remove the sod from the designated area.
- Begin Digging: Start digging into the ground from the highest point. You can either discard the excavated dirt or relocate it to the lower end of the area.
- Check for Levelness: Measure the distance from the string to the dirt to confirm that the level is consistent around the perimeter of the playset area.
- Central Level Check: Place a level down the center of the area to verify if it is level along the middle. If your story isn’t long enough, consider placing it on a longboard for accurate measurements.
- Continual Adjustments: Adjust the dirt by relocating or removing it until the entire area is leveled.
For yards with steeper slopes, constructing a retaining wall might be necessary to build up the lower end. While this does require extra materials and time, mainly if interlocking retaining wall blocks are utilized, it’s a feasible task and not as challenging as it may initially seem.
Leveling the Playset without Altering the Ground
Leveling the playset without altering the ground can be a viable approach, but it should be considered a last resort due to several significant drawbacks.
First and foremost, this method only works if the playset has open space under the clubhouse. It may not be compatible with all accessories, such as climbers and slides, without additional digging or modifications to the playset.
Furthermore, employing this method will inevitably reduce the overall height of the playset. This can limit the available play space beneath it and potentially diminish the excitement of playing at elevated heights.
Most importantly, some of the playset’s posts must be placed directly in the ground, exposing them to continuous contact with soil and moisture. This environment is detrimental to wood, leading to rapid rot, especially if the wood isn’t treated with a preservative. Even encasing the wood in concrete, while a potential solution, is not recommended as it can expedite untreated wood decay.
In situations where this method is the only viable option, it’s crucial to follow these steps:
- Mark the locations for each of the posts.
- Ideally, position the A-frame of the swing set on the lower ground to ensure the swing’s range of motion isn’t hindered by the yard’s slope.
- Use a post digger or a shovel to dig out the areas that need to be lowered.
- Ensure all points where the playset’s posts will contact the ground are level. This can be verified by running a string from the top of the stake in the lowest part of the ground to a stake in the higher amount.
- Measure the distance from the ground to the string on the lowest stake.
- If the measurements match at both stakes and the string is level, then the ground in both locations is level.
Once the playset is assembled and securely anchored, filling the holes with suitable material is essential to ensure safety. Leaving the holes open could pose trip hazards or injuries.
While some might suggest lifting the legs of the A-frame and placing cement blocks underneath, the CPSC advises against this due to potential trip hazards and the less-than-ideal stability it provides.
Remember, finding the right solution for your playset and backyard is all about creativity and safety. Explore your options, and let your children’s laughter be the ultimate guide to a perfect playtime haven!